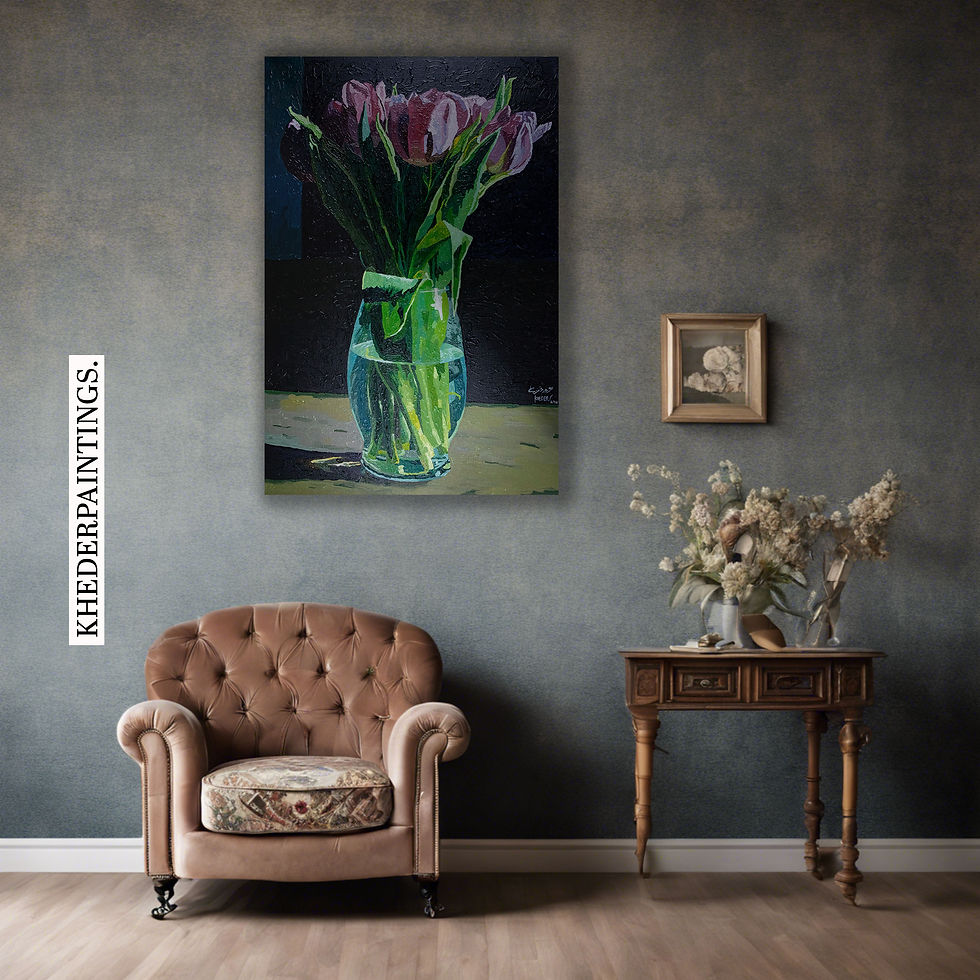
Wall art has the power to transform any space, adding personality, color, and character. But even the most beautiful piece of art can look out of place if it's not hung correctly. Hanging wall art is both an art and a science, requiring attention to details such as height, spacing, and positioning. To help you get it just right, here are some tips and tricks to hang wall art like a professional.
Hang Your Wall Art Like a Professional
1. Choose the Right Height
The most common mistake people make when hanging wall art is positioning it too high or too low. The general rule of thumb used by interior designers is to place the center of the artwork at eye level, typically 57-60 inches from the floor. This aligns the art's center with the average human eye level, creating a cohesive and balanced look.
For single pieces: Measure 57-60 inches from the floor and mark this point on the wall. Center the artwork so that the middle of the piece aligns with this height.
For grouping multiple pieces: Treat the entire arrangement as one piece and center the midpoint of the group at the same eye level.
2. Consider Furniture Placement
When hanging art above furniture like sofas, headboards, or consoles, ensure that the piece is visually connected to the furniture. The bottom of the artwork should sit about 6-12 inches above the top of the furniture. This creates a cohesive look by grounding the art in the room's design.
Above sofas or consoles: The art should be about two-thirds the width of the furniture to avoid looking disproportionate. For example, if your sofa is 72 inches wide, aim for art that is around 48 inches wide.
3. Create Balance with Groupings
Arranging multiple pieces of wall art can be challenging, but following these guidelines can help:
Symmetrical arrangements: Perfect for traditional or formal rooms. Place pieces of the same size in a grid or line for a clean, orderly look.
Asymmetrical arrangements: Better for casual or eclectic spaces. Group art of different sizes, but keep the spacing between pieces consistent (about 2-3 inches apart). Start with the largest piece in the center and arrange smaller pieces around it.
4. Use the Right Tools
Having the proper tools on hand can make a big difference in how professional your wall art looks:
Tape measure: For precise measurements and even spacing.
Level: To ensure the art is hung straight. A laser level can be especially helpful for large groupings.
Painter's tape: Mark out your arrangement on the wall before making any holes.
Pencil: To lightly mark where the nails or hooks will go.
Wall anchors: For heavier pieces, use anchors that can support the weight.
Picture hanging hooks or nails: Use hooks for heavy items and nails for lighter pieces.
5. Choose the Right Hanging Hardware
Different wall art pieces require different hanging methods:
For lightweight frames (under 10 pounds): Standard picture hooks or nails are sufficient.
For medium-weight frames (10-25 pounds): Use stronger picture hooks or wall anchors.
For heavy frames (over 25 pounds): Use wall anchors rated for heavy loads or consider using a picture rail.
6. Plan Your Layout First
Before hammering any nails, lay the artwork on the floor and experiment with different arrangements. If you're hanging multiple pieces, try creating a mock layout using painter's tape on the wall to visualize how the arrangement will look. This can help you avoid unnecessary holes and changes later on.
7. Test Different Spacing for Groups
When hanging multiple pieces in a gallery wall or group, consider the spacing between each piece. Here are some guidelines:
2-3 inches apart: Ideal for smaller spaces or tight groupings.
3-6 inches apart: Works well for larger walls or when you want each piece to stand out more.
Uniform spacing: Keeps the look cohesive. Use a ruler or measuring tape to ensure consistency.
8. Level and Align Your Artwork
Once you have positioned your artwork, use a level to make sure it's straight. Even if the frame looks perfectly straight to your eye, using a level will ensure accuracy. For multiple pieces in a row, make sure the tops, bottoms, or centers align, depending on the look you're going for.
9. Adjust Based on Room Size and Shape
Different rooms have unique needs when it comes to hanging wall art:
In narrow spaces (like hallways): Opt for smaller art or a series of prints arranged in a line.
In large rooms with high ceilings: Hang art slightly higher than usual to draw the eye upward.
In cozy rooms (like bedrooms): Place art lower to create an intimate feel.
10. Add Lighting for a Professional Touch
Illuminate your wall art with proper lighting to make it stand out even more. Use picture lights, track lighting, or wall-mounted lamps to highlight the artwork. The light should not be too harsh but provide enough illumination to bring out the colors and textures of the piece.
Common Mistakes to Avoid
Hanging Art Too High: It disconnects the artwork from the rest of the room's design. Stick to the 57-60 inch rule or follow the furniture placement guidelines.
Not Considering the Room’s Color Scheme: Make sure the colors in your wall art complement the room's palette.
Overcrowding or Underfilling the Wall: For large walls, choose larger pieces or multiple artworks to fill the space appropriately. Avoid using art that's too small for big walls, as it can look lost.
By following these tips and tricks, you can hang wall art like a pro, creating stunning visual arrangements that elevate your space. Whether you're decorating a single wall or an entire gallery, these guidelines will help you make the most of your wall art and add a polished, designer touch to your home.


Comments